Here we go [: Hope you enjoy.
First things first, you don't need to have origami paper. Origami paper is certainly a plus, but it's not essential. Any kind of paper will do. I once had a friend use Post-It notes. As long as the paper is a square, or can be cut into square, you're good to go.
For this DIY I've used origami paper I bought at Barnes & Noble. Around $7 for, like, 500 sheets, all with different designs. This is the design I've chosen. I thought it reminiscent of Japanese screen printing, therefore, appropriate for the Chinese art of paper folding. (Well, actually, the art of paper-folding also seems to originate from places like Germany, Italy, and Spain...but for now, I'll consider it an explicitly Asian art.)
This sheet is about 3x3 inches, and only printed on one side. Because I'm frugal, I like to rip these squares into even smaller squares. You don't have to. If you want a larger bookmark, by all means, skip the first few steps.
step one: fold the sheet in half (you may want to do this more than once so it'll be easier to rip in half)
step two: rip sheet in half
See, it's like mitosis. Now you've got four smaller squares with which you'll be able to make four origami bookmarks.
step three: select one of the smaller squares and fold in half, side to side. do this to both sides.
I know the lines are faint, but you see how you've got an asterisk now? Good.
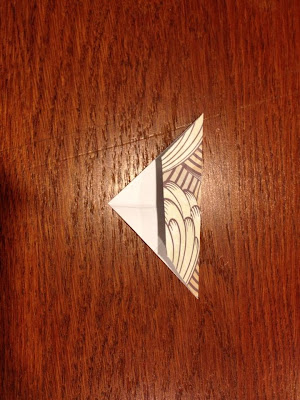
For the next few steps, you'll want to position the paper so that it looks like an upright pyramid.
step seven: take either of the bottom angles and fold to meet the very top of the pyramid
step eight: tuck edges into the pocket
What pocket? I'll show you.
Then you're done! YAY!
Put in your books now!
Have fun with these. Feel free to show me some you've made. Or maybe you could show me another way to make an origami bookmark.


No comments:
Post a Comment